
How to Remove Rust From a Metal Dog Kennel
A complete step-by-step guide to safely removing rust from a metal dog kennel, protecting your pet from sharp edges and oxidized metal hazards while restoring the enclosure to like-new condition.
A rusted metal dog kennel is more than an eyesore — it poses real safety risks to your pet. Flaking rust creates sharp edges that can cut paw pads and sensitive noses, while curious puppies may ingest oxidized metal chips, leading to gastrointestinal distress or heavy-metal exposure. Catching rust early and following a systematic restoration process keeps the kennel safe, extends its service life, and saves you the cost of a full replacement.
In this guide, we walk through five proven steps — from initial damage inspection to long-term prevention — so you can bring a corroded kennel back to safe, usable condition in a single weekend.
Step 1: Inspect and Assess the Damage
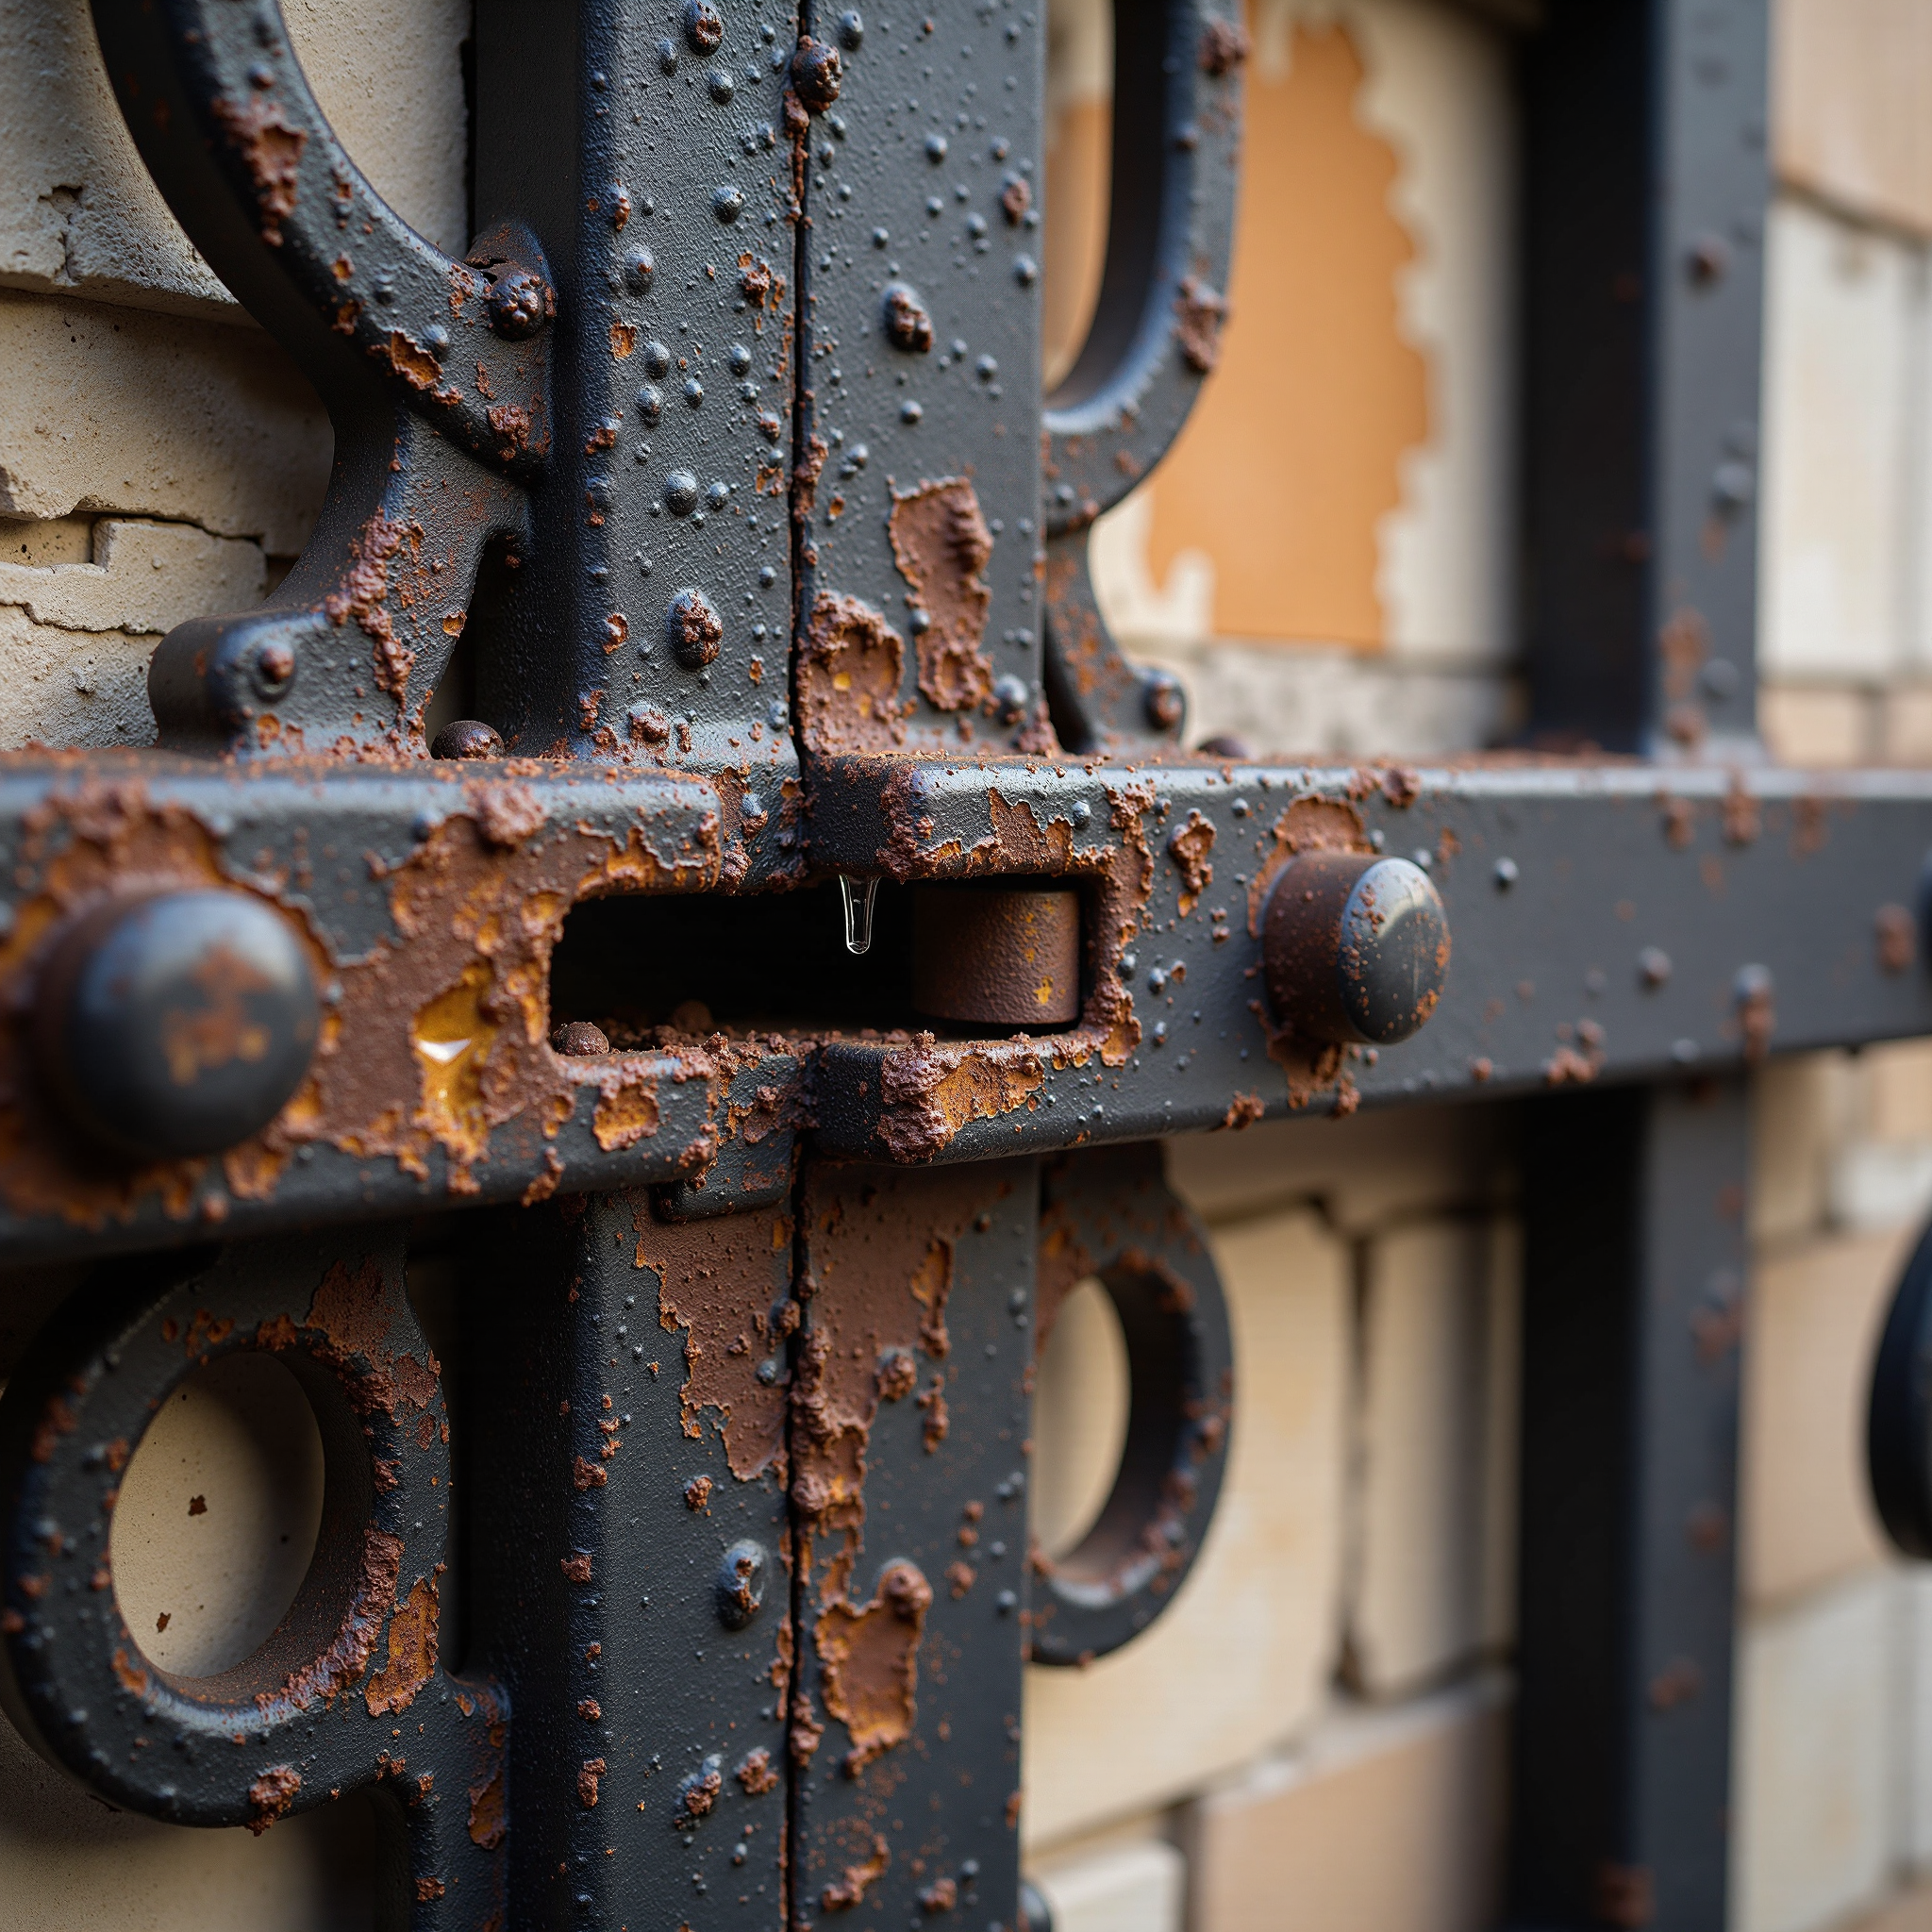
Before picking up any tool, walk the entire kennel and catalog every rusted area. Pay special attention to:
- Weld joints and corner brackets, where moisture pools and rust starts first
- Door latches and hinge pins, which see the most handling and salt transfer from paws
- The floor pan and lower rails, closest to urine, spilled water, and outdoor splash
- Any area where rust has bubbled through paint — this signals corrosion underneath
Use a flat-head screwdriver to gently probe suspect spots. If the metal feels solid beneath the surface, you have superficial rust that is straightforward to treat. If the screwdriver tip punches through or the panel flexes, that section has structural loss and may need panel replacement rather than cosmetic repair.
Safety tip: Wear cut-resistant gloves during inspection. Rusted edges are essentially hidden blades — one firm grip can slice a palm.
Step 2: Remove Loose Rust and Flaking Paint
The goal of this step is to strip everything that is no longer bonded to the base metal, leaving only firmly adhered material behind.
Tools and materials
- Wire brush (hand-held for small areas, cup-wheel attachment on a drill for large panels)
- 80-grit then 120-grit sandpaper or sanding discs
- Needle scaler for tight corners and weld seams
- Vacuum with brush attachment and a tack cloth
Procedure
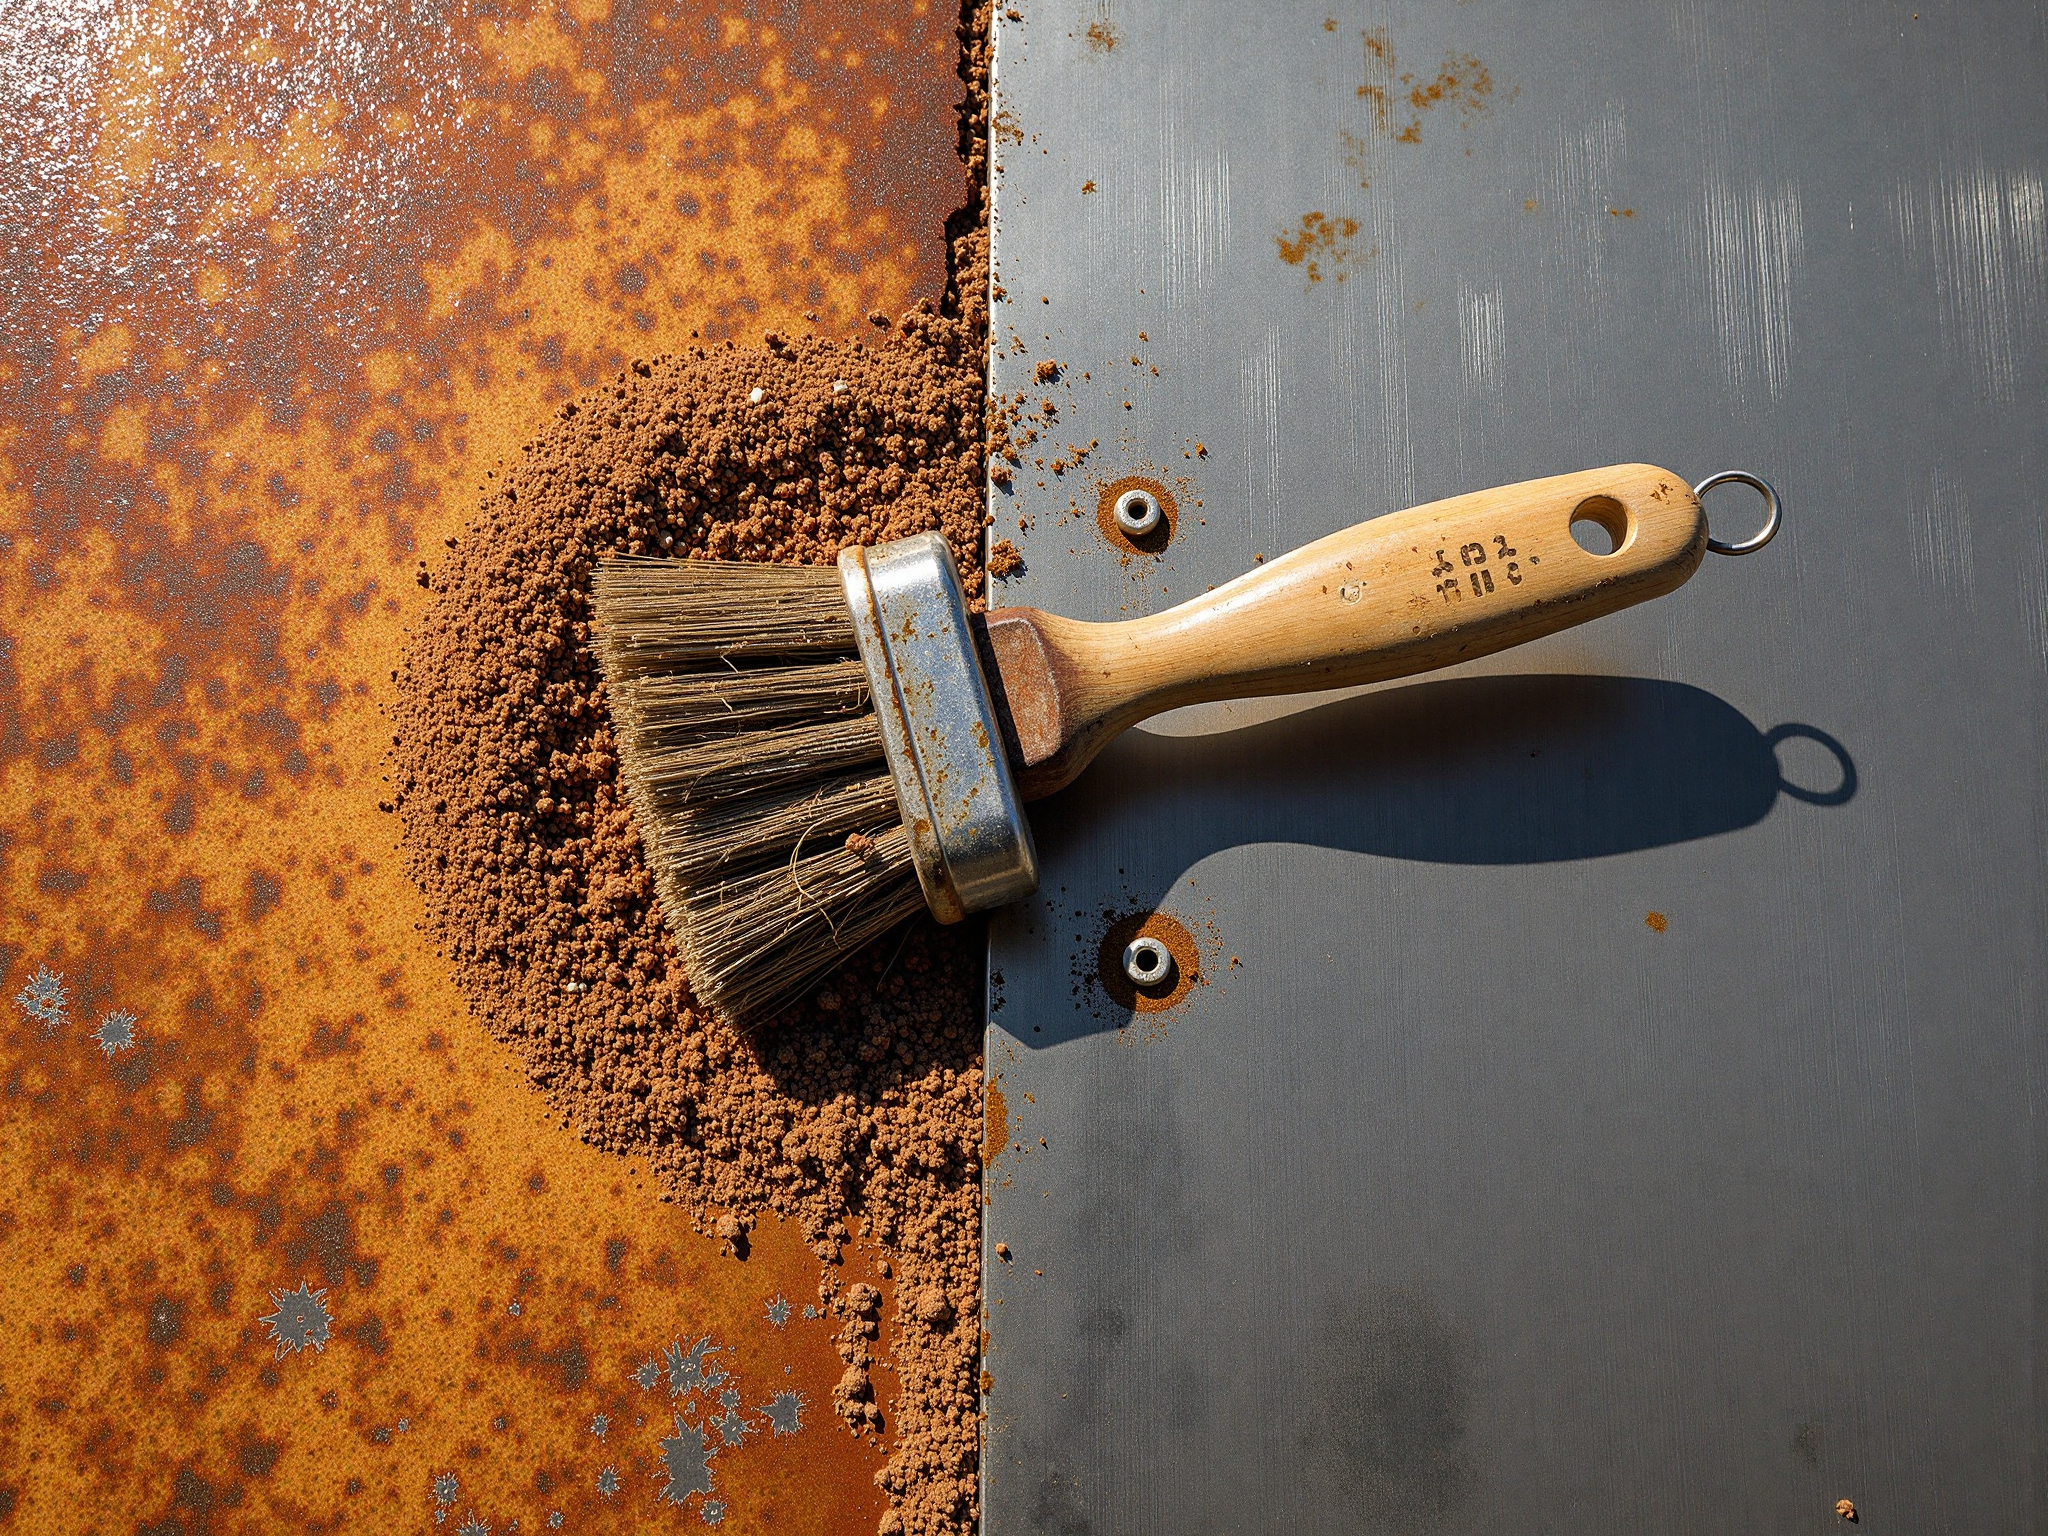
Start with the wire brush to knock off the thick, flaky layers. Work in the direction of the grain when possible — this reduces scratching depth. Switch to 80-grit sandpaper to feather the edges where remaining paint meets bare metal, then finish with 120-grit for a smooth transition. Vacuum all dust and wipe every surface with a tack cloth; any residual grit will telegraph through the new finish.
Work in a well-ventilated area and wear a particulate respirator — rust dust contains iron oxide and possibly lead-based paint particles from older kennels.
Step 3: Apply a Rust Converter
Even after mechanical removal, microscopic rust remains in the metal's pores. A rust converter chemically transforms residual iron oxide (Fe₂O₃) into iron tannate — a stable, paintable black layer that halts further corrosion.
Application tips
- Apply with a synthetic brush or foam roller on a dry surface — moisture blocks the tannin reaction
- Coat evenly without puddling; drips cure into a bumpy texture that shows through topcoat
- Allow 24 hours of cure time in temperatures above 10 °C (50 °F)
- The surface should turn uniform charcoal-black; any reddish areas need a second coat
Popular products include Loctite Extend Rust Neutralizer and POR-15 Rust Preventive Coating — both are widely available and formulated specifically for this iron-oxide conversion chemistry.
Step 4: Prime and Topcoat
A rust converter alone is not a finished surface — it must be sealed under a proper primer and topcoat to block moisture and UV.
Primer selection
Use a direct-to-rust (DTR) acrylic enamel primer or an epoxy primer for maximum adhesion. Spray application with an HVLP gun gives the most even coverage on wire mesh and tubular frames; brush-on primers work for flat panels but leave thicker build.
Topcoat
Follow with two thin coats of exterior-grade enamel or an appliance-epoxy paint rated for metal. Light colors reflect heat (important for outdoor kennels in summer) and make future rust spotting easier to see. Allow full cure per the manufacturer's spec before reintroducing the dog — off-gassing from fresh paint can irritate a pet's respiratory system.
Step 5: Build a Routine Prevention Plan
The best rust repair is the one you never have to do. Build these habits into your kennel maintenance schedule:
- Weekly: Wipe down bars and floor with a dry cloth after rain or hosing; standing water is rust's primary trigger
- Monthly: Inspect hinge pins, latch mechanisms, and any spot where two metals contact (galvanic corrosion zone)
- Seasonally: Touch up any paint chip or scratch with matching enamel before rust can establish itself
- Annually: Apply a spray wax or fluid-film lanolin coating to the underside and hidden joints — this displaces moisture and buys you another year of protection
For outdoor kennels, consider relocating the enclosure under a covered overhang or using a waterproof kennel cover during rainy seasons. Elevating the floor pan even 5 cm off the ground with rubber feet dramatically reduces the splash-zone corrosion that eats the bottom rails first.
When to Call a Professional
DIY rust restoration handles 90% of cases, but some situations warrant professional help:
- Structural members (load-bearing tubes, main frame welds) have corroded through — welding repair requires proper jigs and safety certification
- The kennel is galvanized and you are unsure whether the existing coating is lead-based paint — a simple swab test kit from a hardware store settles the question
- You operate a boarding facility and must comply with local animal-housing inspections — documented professional refurbishment carries more weight than DIY touch-ups
With the five-step process above, most pet owners can keep a metal kennel safe and attractive for decades. The key is catching rust early, converting what remains rather than just covering it, and committing to the small maintenance habits that prevent corrosion from returning.